How do I create, edit and add requirements on the bid response page?
Creating Requirements
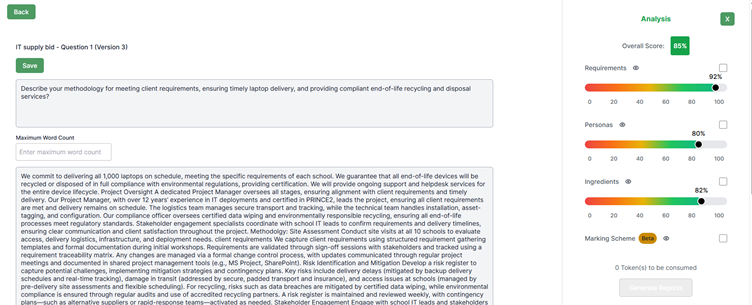
Once you are on the Bid Response Page (via Bid Library → Select Bid → Select Bid Response), you will see the screen shown below.
Click the eye icon next to Requirements in the right-hand column to view or manage the requirement details.
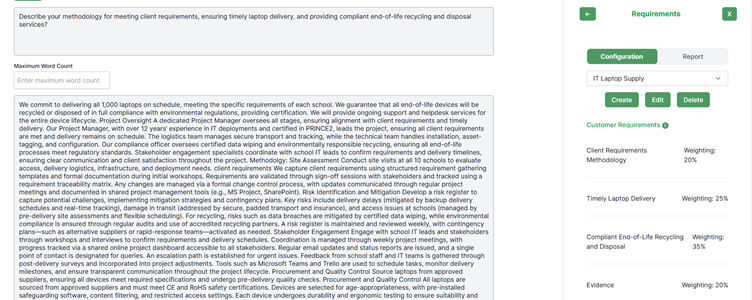
Requirements tab
You will now see the screen below. To create new requirements, click on the create box.
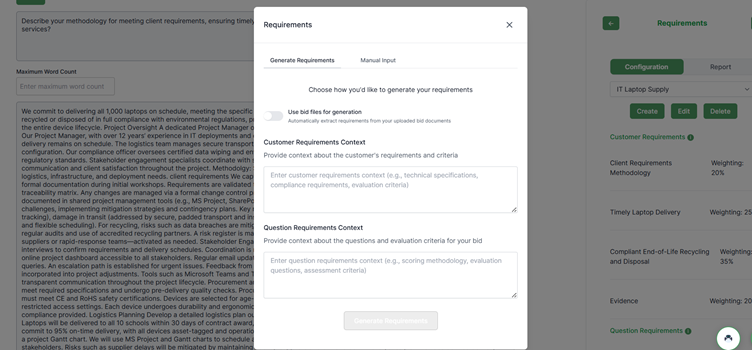
Create automated requirements
You will now see the screen shown below, where we will automate the requirements.
You can copy and paste text into the “Customer Requirements Context” box if:
- You have created your own text following a manual review of the specification, or
- You have only a small set of requirements (lucky you).
In most cases, you should simply click the white circle next to “Use the bid files for generation” to allow the system to automatically generate the requirements from your uploaded documents.
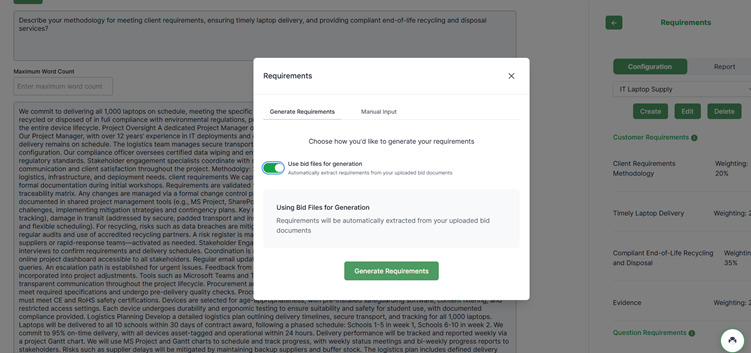
Generating Requirements
Once you have clicked the white circle, you will see the screen shown below.
This function will only work if you have already uploaded your specification document — either:
- During bid creation (via Bid Analysis in the left-hand green column when you log in), or
- By adding it directly on the Bid Page, using the “Edit” button on the right-hand side next to the scoring graph.
When you are ready, click “Generate Requirements.”
Requirements generated
You should now see the requirements have been generated as seen below. The next stage will show you how you can add more or change percent weightings by clicking on the green “edit” box.
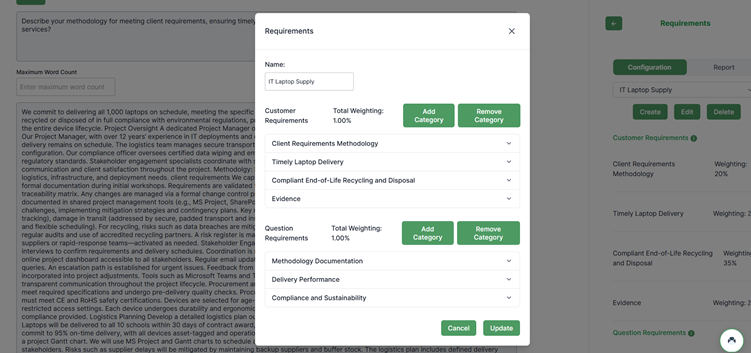
Editing Requirements
When you click the Edit box, you will see the screen shown below.
Here, you can view the Name, Customer Requirements, and Question Requirements.
You can also:
- Add new categories
- Remove existing categories
- Review the contents of your current categories
Next, we’ll look at how to check a category, followed by how to add a new one.
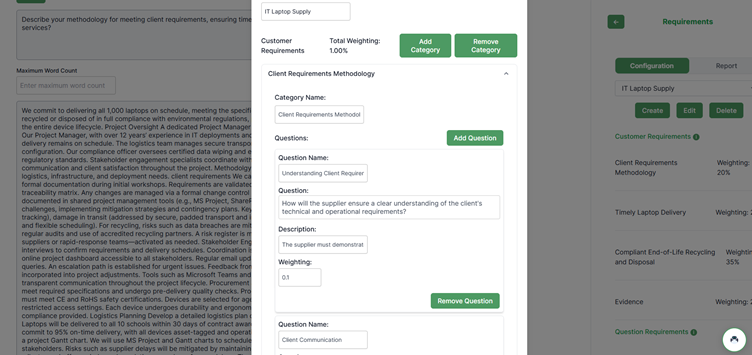
Changing an Existing Category
Here, you will see the sub-category of the customer requirements — for example, Client Requirement Methodology.
You can edit the following fields:
- Question Name
- Question
- Description
- Weighting
If you decide that a sub-category is more important than another, ensure that the total weighting of the category adds up to 1 before saving.
To save your changes, scroll down and click the green “Update” button.
Adding a New Category
When you click the green “Add Category” button, a new entry (e.g. Category 5) will appear on the screen.
Click on the new category to expand the drop-down menu, as shown below.
Fill in all required fields, ensuring that the total weighting for the Customer Requirements Category equals 1 before saving.
The system will not allow you to update the category if the total does not equal 1.